S1.3: Adjusting Fork Clickers
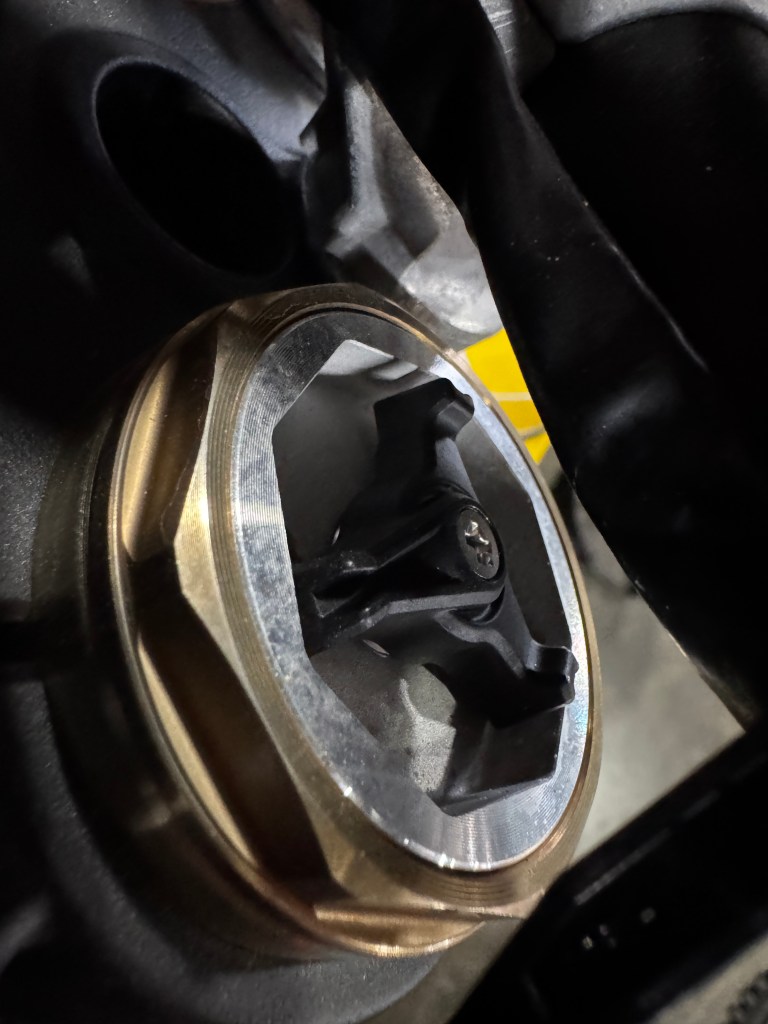
Fork Clicker (YZ)
Clockwise (turn to rider’s right) to fully lock the clicker. A locked clicker essentially allows the least amount of oil to pass through the shock. Less oil means it compresses/rebounds slower.
Fork Clicker (YZ)
The more oil allowed to pass through the shock the faster it will compress/rebound. Keep these things in mind when setting the suspension up. Try to stay in the middle range of total clicks available as well too much or too little means it’s time to look at getting the front end valving redone.
Welcome to the third post on getting your dirtbike dialed in. There are tons of steps to getting the bike fully set up for you, including the type of riding you will be doing. This page is purely focused on setting/tuning the clickers for your front forks. If you haven’t read the overview on page two, please check it out; it goes over a lot of the basic information you would need to get started on tunning your suspension.
- We will begin to set up the front, assuming you have already decided on the baseline settings you want to use (you can find the baseline settings on page two of this post).
- The first thing you want to check for is binding in your forks. Binding can be caused by many things, like dirt in your dust covers/fork seals or the front axle being too tight and pulling the fork shoes in too much. Installing your front wheels seems pretty straight forward, but there are a few stepse sure you do in order for your forks to b you need to make aligned.
- Step 1: Loosen axle bolt & Pinch bolts.
- Step 2: Now that everything is loose, check your axle, make sure it is greased, and slide the axle all the way through (if you feel like you need to hit it with the hammer, do your best not to. Try putting your foot under the front wheel and wiggle it around until your axle with l the axle slides through nicely).
- Step 3: Tighten the axle nut hand tight. On the side opposite the front brake rotor, tighten one or both pinch bolts so the axle is held in place.
- Step 4: Tighten your axle bolt to the desired torque spec found in the manual.
- Step 5: loosen the pinch bolts you tightened to hold the axle in place in step 3.
- Step 6: There are plenty of ways to align the front fork properly; my go-to method is spinning the front wheel a few times and grabbing the front brake each time (the jolt it causes makes the fork shoe move along the axle slightly). The For shoe should eventually stop moving around and find its proper location.
- Step 7: Tighten down all the pinch bolts to the desired torque spec located in the manual.
- Now that the front forks are aligned and in the correct location. Turn the compression and rebound clickers clockwise until they no longer turn/click.
- Start turning your rebound clicker counterclockwise counting each click it makes as you continue to the desired number. Then, do the same for Compression.
- If you’re not sure which one is rebound or compression, the manual for your bike will have them both labeled so you’re not confused.
- Now that we have the clickers set, we can move to fine tuning them.
- When adjusting the clickers, the best choice is to move in increments of 2 clicks until you feel really close to what you’re happy with (at the end of the day, it is rider preference).
- If the front wheel is deflecting when hitting breaking bumps and throwing you from side to side, most likely the compression is too fast/soft (or the o-ring is hitting the fork shoe (which means the compression has been open too much/too many clicks have been added). Try backing off (clockwise) 2 clicks. Keep in mind there is a 2-1 rule: if you take 2 compression clicks off add 1 to rebound or vice versa.
- If the O-ring is less than 70% of the way down the forks, so the compression is most likely too stiff. Adding two clicks to compression and removing one click from rebound should help situate the bike a little more.
If you end up at the highest or lowest amount of clicks you can have for either compression or rebound, it’s time to look into getting the valving redone on your forks; the ideal range is somewhere in the middle of the total available clicks.
The best tip I have is, write down every adjustment you make. The more notes you have the less times you repeat the same settings, which saves a lot of time in the long run.
Page 4 contains an in-depth breakdown of adjusting the rear shock clickers.
